Prusa i3 Rework Update 8/27/2014
Since last update I didn’t touch my 3D printer much, until last week.
I decided to print spare parts for my i3 and started with big extruder gear. That’s when I noticed big issue. Layers were getting shifted in X and Y axes. This was not that noticeable in other prints, but with gear it’s was very visible. I’ve attempted to correct issue by adjusting X-axes belt tension and also added some power to Stepstick scontrolling X and Y motors.
MOSFET Issue
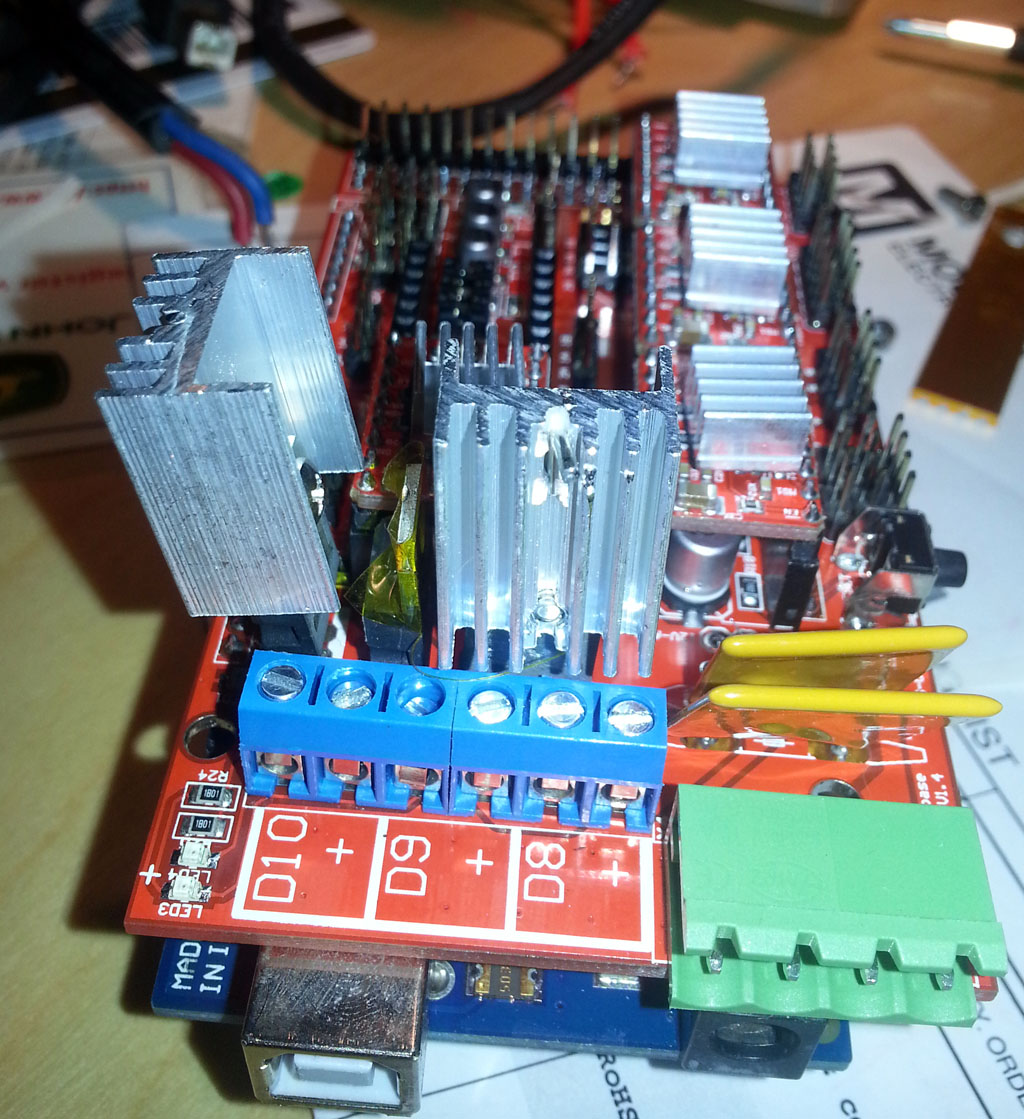
It didn’t really help, but about at the same time as I was playing with it, I added some nice heatsinks (that just arrived from China) to Heatbed and HotEnd MOSFETs. Apparently I shorted something out with heatsink (I think 2 MOSFET’s heatsinks touched) and my printer died. It started to draw so much current that it caused power supply to shut off. I’m puzzled why PSU didn’t burn fuse. Anyway after some tracing I found that burned out Hotend MOSFET was culprit. It was shorted out on all 3 pins.
I ordered a replacement from Mouster and new transistors arrived couple of days later. As I unsoldered bad MOSFET I must’ve damaged some PCB traces, but fortunately I was able to repair them with some jump wire. Mine printer once again was alive!
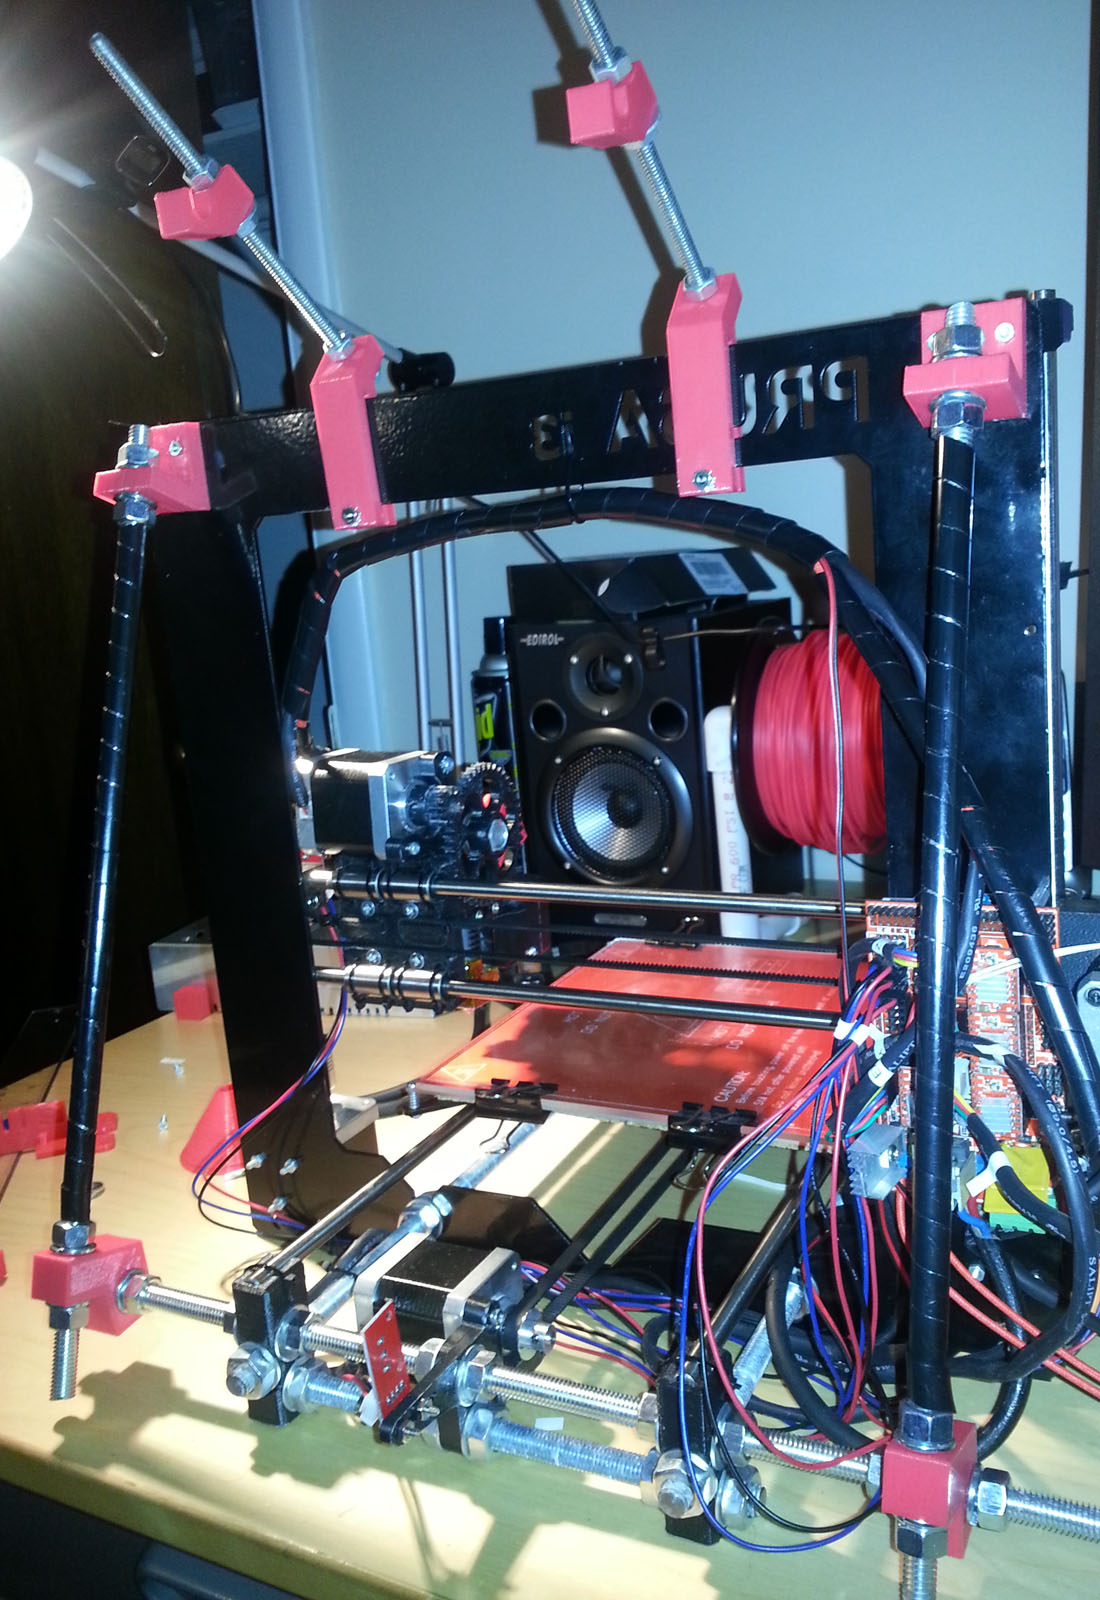
Z-Axes Stabilizer
Layer shifting seemed to be due to wobble in the frame, especially since I added spool mount to it. I looked at Tech2C’s Youtube video and decided to add some stabilizers to the frame. You can find STL files in this forum thread.
Instead of using M10 rods, I used 3/8″ rods which roughly same diameter. Here’s how you make one:
- Print out 2 copies of each z-axis support_top.stl and z-axis support_bottom.stl
- Cut 3/8″ rod to 3 15″ pieces.
- Replace M10 rod on the back of the printer (top one) with 3/8″ piece
- Attach bottom printed pieces to it and secure each piece with 2 washers and 2 nuts, but don’t tighten yet
- You will also need four 18mm M3 machine screws. Remove M3 screws from Z-axes top support pieces, and replace with 18mm screws.
- Attach printed z-axes support_top pieces
- Insert other 2 15″ threaded rods between top and bottom pieces, and secure them with washers and nuts.
- When everything aligned nicely, tighten all nuts.
This adds a lot of rigidity to the frame, but I’ve yet to test if it helped with layer shifting issue.
Printing with ABS
I finally decided to give a try and print with ABS (that was included with printer). Main reason was due to bridging issue I was getting with PLA. I tried to print a piece for Z-axes endstop, which never came out right because part of it was printed “in the air”. Strings of PLA would just sag to the bottom, loosing form. Cooling fan might resolve this issue, but I’ve yet to find and print a mount for it.
So anyway I loaded ABS into printer, made quick settings for it in Slic3r (namely filament temp 230C and Bed Temp 110C) and attempted to print simple thing wall cube. I failed miserably, filament was being laid in blobs and cube was completely messed up. I’ve tried increasing temperature to 235C, but it made things worse. So at this pointed I decreased temperature to 225C and had some success! I will keep on adjusting various aspects and will let you know how it wen in the next update, so stay tuned 🙂