DIY Speaker Stands (lazy guide)
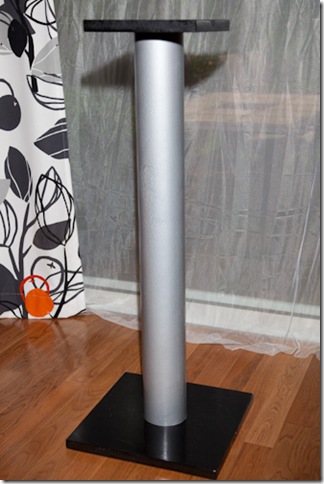
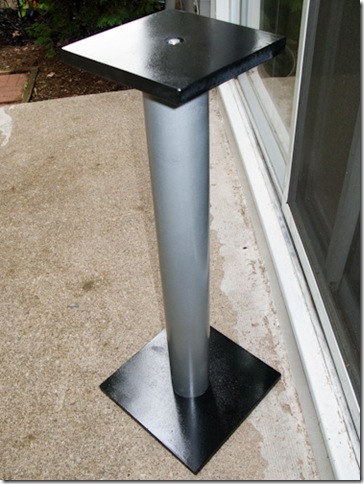
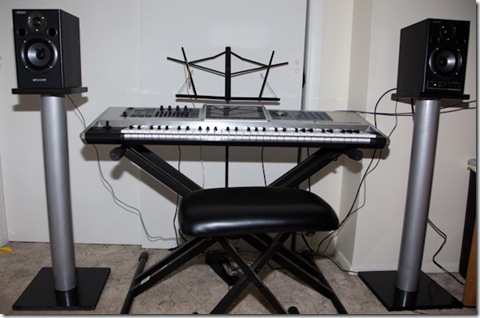
This is what you will be making (more or less)… Cost of materials: $60 / pair
About this guide.
Making your own speakers stands that don’t look bad is actually not that hard even for someone like me, who doesn’t have any carpenter skills. If you are very handy it’ll take you 10x faster to make a pair of stands than it did for me.
I will not take credits of the original speaker stand plans. This is basically modified TNT-Stubby’s guide. Being lazy and inexperienced I cut corners and simplified. I didn’t fill PVC pipe with sand and I spray painted MDF instead of staining red oak… Results were still good IMHO. Also I’ve added a lot of information that was missing from Stubby’s article which was good but missing a lot of details that I had to figure out, so you don’t need to. I will also share about some embarrassing mistakes I made, so you don’t have to repeat them 🙂
Recommended Tools.
Declaimer: You will need to use power tools. Very DANGEROUS tools so in no way am I taking responsibility for possible injuries. Make sure you always follow safety instructions in the manuals that came with your tools. And most important – wear safety glasses!!!
These are the tools that I used (feel free to improvise with your own):
- Battery operated circular saw
- Power drill
- Dremel Rotary Tool
- Cut off disks for Dremel
- Sandstone attachment for Dremel
- 10″ COMPUND MITER SAW (Optional, you can use hand saw instead)
- Hand sander
- 1” spade drill bit
- 3/8” drill bit
- Adjustable Wrench
- Wood clamps
- Ruler
- Pencil
- Safety Glasses
Materials shopping list for pair (total cost $54.22 + tax):
(got most of mine at local Home Depot)
| Material | Size/Qty | Comment | Price (ea) |
| MDF Board 3/4 inch thick | 2 x 4 ft | Don’t remember exact size | $8.33 |
| 3” Schedule 40 PVC Pipe | 10 ft | Or at least 5 ft | $8.74 |
| 3/8” — 16 x 36” All Threaded Rods | 2 | 16 is a thread count, make sure your nuts are the same | $2.79 |
| 3/8” – 16 regular (tall) hex nuts | 12 | 16 is a thread count | $0.11 |
| 3/8” – 16 small profile (short) hex nuts | 4 (2 bags, 2 nuts in each) | they are shorter than regular hex nuts. Price per 2. | $1.50 |
| 3/8” Flat Washers | 4 | I recommend 1” diameter | $0.79 |
| 3/8” Lock Washers | 2 | $0.65 | |
| 150 grit Sand Paper | 1 pack | $3.97 | |
| 220 grit Sand Paper | 1 pack | ||
| Spray Paint Primer | 1 can | $3.44 | |
| Spray paint 4 plastic | 1 can | Metallic color | $5.48 |
| Spray paint | 1 can | Black gloss all purpose (for wood) | $3.44 |
| Disposable latex gloves | small box | At local CVS or other store | $2.49 |
| Some old cardboards | large pieces | For covering paint area | free |
Prices can be different depending where you buy your tuff. It should cost you around $60 with tax, provided you have all the tools. And good news is you should have enough material to make two more stands! Just get extra 2 rods, nuts and washers.
Basic Design
Design of these speaker stands is simple. There’s a wooden (MDF) base and a top. Between them is PVC pipe. Whole thing is held together by all threaded rod with some hex nuts. PVC pipe keeps top and base apart, while rod keeps them from breaking apart. Base has height/width of 12 inches and top is 8 inches. I made both parts out of 3/4” thick MDF board because it’s a lot cheaper than wood and easier to work with. You are welcome to use any other wood type you like. Base and top have recesses (about half of its height and 1” in diameter) for the small profile hex nut and washer and a 3/8” hole in the middle for the threaded rod. I made height of my stands a little under 32 inches, feel free make it taller or shorter. PVC Pipe is 3 inch in diameter and 30 inches long. I made it 30 inches because that’s what I wanted the height of my stand to be. I knew base and top will add to some height, but I didn’t matter to me that much. If you are ok with stand of exactly 36 inches, then you will save some time and frustration of cutting off all threaded rods, because Home Depot sells them in exactly 36 inch size. As I mentioned my designed is based on TNT-Stubby’s minus sand. He used sand to fill the PVC pipe (probably for added stability and sound quality). But I didn’t want to mess with sand and caulk rope to close all the gaps in the bottom and top of the PVC pipe. My stand came out pretty sturdy as is, and if needed I can always add sand later. However my idea was to use 3 little squares (bottom, middle and top) which went inside PVC pipe and on top of the rod. They were roughly size of the PVC’s internal diameter and basically helped to center the pipe, and lessen its movement. Base, top and pipe were painted over with a spray can paint.
Making it
I will try to be as detailed as possible. Sorry if some things seem obvious to you, they might not be for everyone.
1. On your marks.

First we are going to mark our cuts. MDF Board that I got was exactly 24 inches in width, so it was very easy to cut. First take ruler (preferably with right angle at the end) and draw a 24 inch line 12 inches away from the edge. Divide it in two and you have marks for your two 12×12 bases. Don’t cut it yet. Move 8 inches away from the long line you drew and draw another one parallel to it. You’ll need to make two 8 inch marks for the top. This will give you three tops, even though you only need two (use one as spare or make more speaker stands).
2. Cut it out.
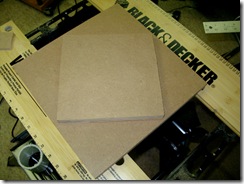
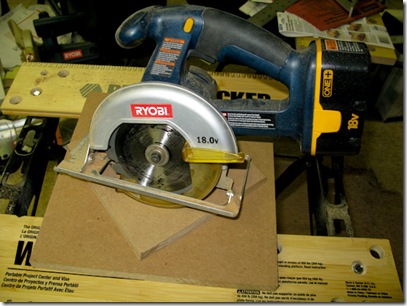
You can use hand saw, but I used my battery powered circular saw. If you have circular table saw even better. Make sure you adjust it to be able to cut thickness of the board. BE CAREFUL! I personally know people who CUT OFF THEIR FINGERS like this.
First cut off large (24 x 12) piece that will your two bases. Then cut off piece (24”x8”)that will be your two (well actually three) tops. Now make a cut to separate your bases (cut it in two), and do same with the “tops” which you will cut in three.
3. Back to the drawing board.
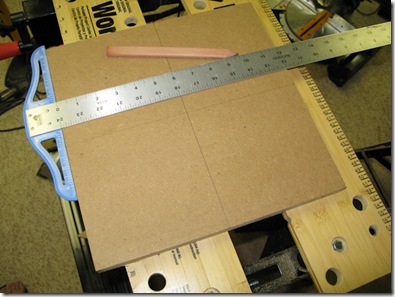
Find center of each piece. I’m not going to explain how to do this.
4. Fire Drill.
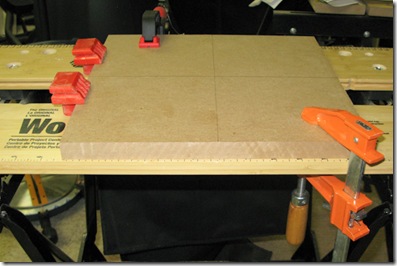
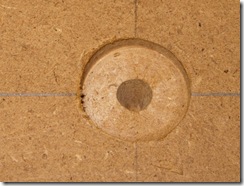
It’s time to drill. This is somewhat tricky part. Ideally you should use your spade bit to drill 1” wide inch recess to about a half depth of the MDF board. But spade bit has those edges which will always be dipper than your hole. And if your cut is too deep it might break when you tighten the rod. So this is how I did it:
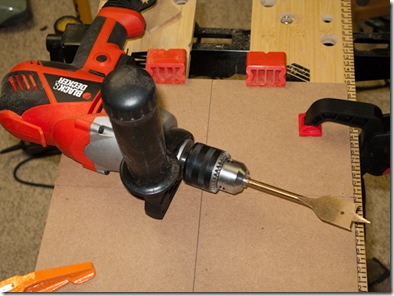
Secure board to the work bench with wood clamps. Attach spade bit to your drill, place it in the center of the part (your base or top) and SLOWLY start drilling, while trying to make recess even. I stopped drilling when sharp center tip of my spade bit started to show on the other side.
- At this point stop drilling, remove sawdust (there will be A LOT of it).
- Check the depth by first placing washer in the hole and then hex nut on top of it. Slide pencil (or any other flat object) across it. It will probably bump into nut. This is not good, nut suppose to be completely recessed. But we also don’t want to make recession too deep. Remove nut and washer.
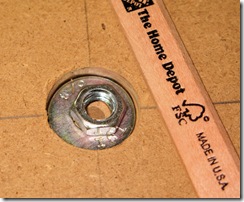
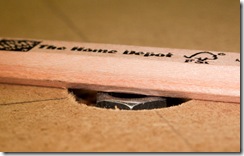
- Take your Dremel tool and attach sandstone to it (as wide as you have). Turn it on and dig in carefully. Dremel will deepen the whole very easily. Watch out for the flying sawdust, it kept getting into my eyes even though I was wearing safety glasses. Do not dig too deep. Keep stopping periodically can check the depth.
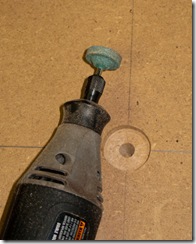
Attachment tend to get pretty hot, mine broke off on the last piece 🙁
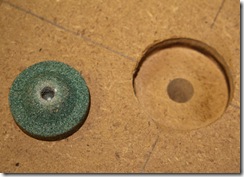
- Once correct depth is reached and pencil no longer bumps into a nut, remove nut and washer (duh) and drill hole in the center with 3/8 “ drill bit.
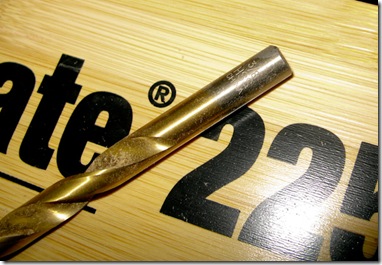
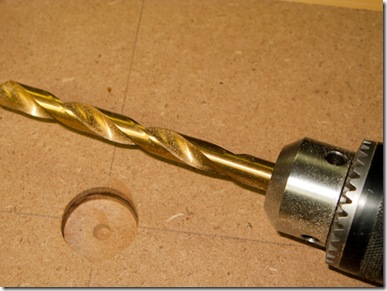
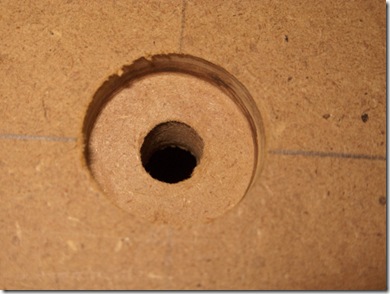
- Repeat all steps to the rest of MDF pieces.
5. Cut the pipe.
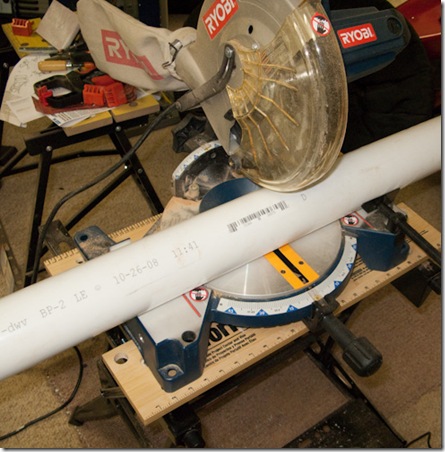
My local home depot only had 10 feet long PVC pipes, so if it’s also your case make sure you have enough room, and something to hold both ends. There are two ways you can cut the pipe and I tried both. You can either use power meter saw which I think is absolutely the best way to cut it, or use hacksaw and cut it by hand. At first I didn’t realize I can use meter saw so I cut my first pipe by hand and resulting cut was uneven. It sucked. Meter saw on the other hand, cut my PVC pipe in one second and absolutely even. But before cutting don’t forget to first measure length of your PVC pipe (mine needed to be 30 inches). Also take into account meter saw’s width, it’s significant. Repeat for the second stand.
6. Little squares.
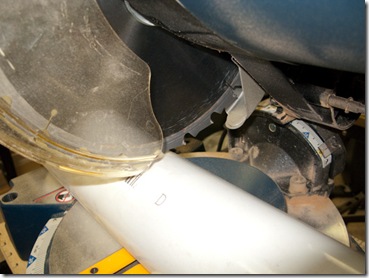
It’s up to you if you want to put those little squares (2 1/8 x 2 1/8) inside. I think they really help to center the pipe in the stands. And they are easy to make if you have power meter saw. I happened to have another sheet of MDF lying around which was about ¼ of inch thick. I marked a long strip 2 and 1/8 inches wide and cut it off with battery powered saw. Then I made marks for each square and cut them off with meter saw. You will need 6 pieces total. Take each little square, mark it’s center (I only did it with one and then used it as template for the rest) and drill hole with 3/8 drill bit.
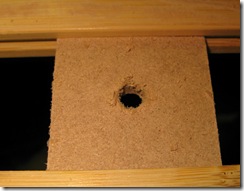
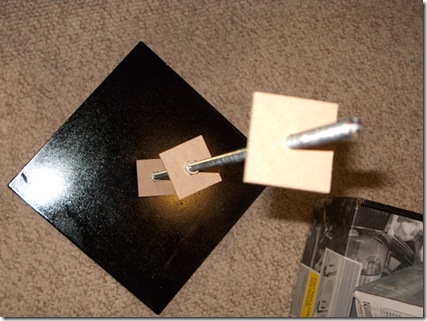
This is what they will look like when assambled:
7. Puzzle pieces.
Now you should have all the pieces ready. Well almost all. Remember those threaded rods? If your stand length is shorter than rods, you will need to cut extra with the dremel. Here’s the catch. You need to cut more or less precise. I don’t know about you, but when I measure and then cut something it’s almost never matches! And when you are dealing with multiple parts each compounds an error and result deviates even more. In theory to find exact length of the rods you will take length of PVC Pipe (30”) and add thickness of each MDF Board (2 x 3/4). So in my case it was supposed to be 31 and half inch. That’s one way to do this. I did it slightly differently. I put parts together (make sure it stand on hard and even surface) and marked protruding part of the rod with blue tape.
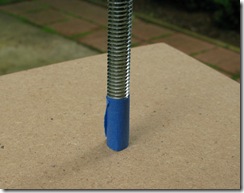
Notice that I put top upside down, this is not how it will look like when fully assambled.
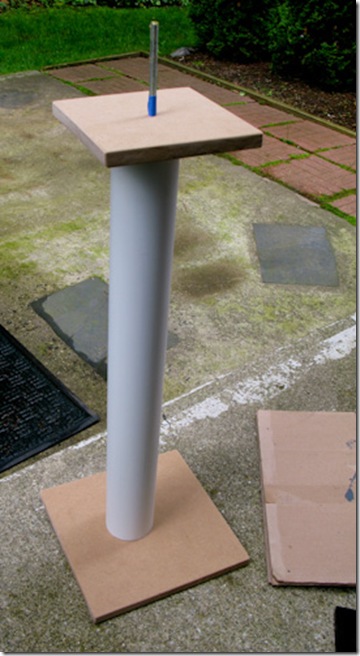
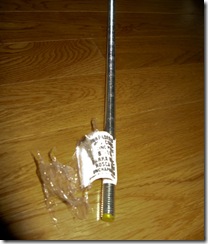
Once you know where to cut, secure the rod so it’s steady and use cutoff wheels with Dremel. Cut between threads and keep rotating the rod to avoid breaking too many cutoff wheels (I broke just one on my first rod).
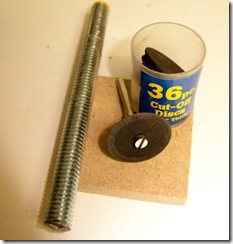
(on the this picture you see a piece of rod that was cut off and will not be used)
Then cut is deep enough you can just break off piece of the rod and file end with sandstone if desired. Quickly assemble stand (without using nuts) and check if height is ok. You can use pencil method for this. My first rod cutoff was perfect, pencil slid right over it. It was actually a little shorter, which was still ok. On my second rod I goofed somewhere. It came out couple of threads longer than needed. Believe me you don’t want to cut off just few threads with Dremel tool. It took me really long time, wheels kept breaking and I damaged thread so I couldn’t screw in the nut. Fortunately I was able to thread it from the other end, although it took much longer.
8. Sand and paint.
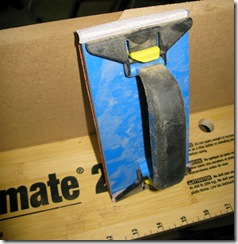
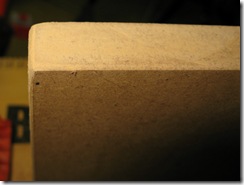
Before your paint all your pieces, you need to do some sanding. MDF is usually pretty smooth material, but if you had some uneven cuts you will want to sand them by hand or an electric sander. I did mine by hand. When all rough edges were sanded, I also beveled edges for a nicer look.
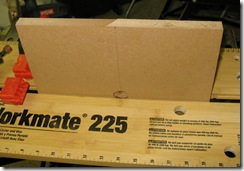
You will also need to send PVC pipe. People keep telling me that paint won’t hold if surface is too smooth. Also there are markings on the pipe. So sand them off, or use paint thinner (I didn’t have any so I can’t say how it works). After sanding is done, wash everything with water and soap. Don’t get MDF piece too wet because they absorb moisture and could deform or break apart. Just wipe them off with moist paper towels.
9. Picasso
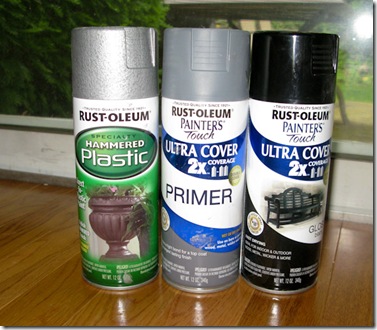
It’s time to paint all your pieces! I really hate this part because I’m no good at spray painting. It’s really not that hard, but requires a lot of patience. Make sure you do your painting in well ventilated area, like outside. I strongly suggest you make some kind of box out of cardboards so you don’t spray over the sides and top. Wear gloves, you will get paint on your hands, I guarantee it. MDF pieces need to be primed first. Spray them with primer and move aside to dry. I chose not to paint bottom of them base pieces to safe some time. You can’t see it anyway 🙂
Here’s a neat little trick I did.
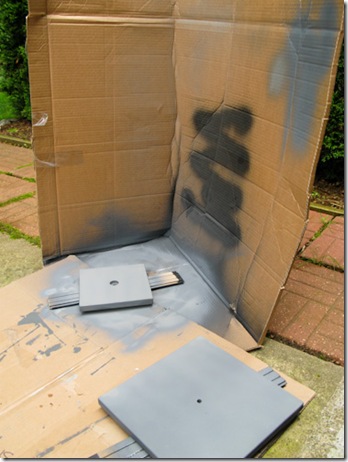
I put both pieces on top of two flat wooden boards (these were leftovers from the flooring) instead of just putting them on the cardboard. You’ll be able to pick them up without touching painted surface, so you can rotate them to paint the sides and also move aside to paint another piece.
While MDF is drying spray PVC pipe with special pain for plastics. Put very little at first. I tend to put a lot and it runs off 🙁 Do a very thin strip, rotate, do another and so on until it’s covered.
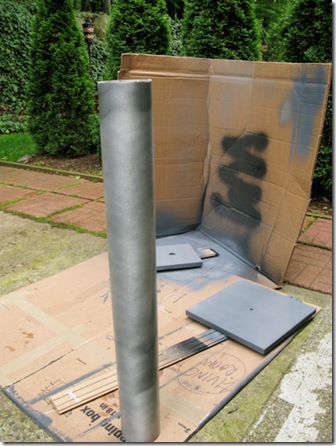
If it’s not enough let it dry 5 minutes and do another coat. Metallic paint looks good on white PVC, you don’t need to put too much. It will look even better when dries. Can’t tell if it’s plastic!
After about an hour primer should be dry to the touch on the MDF parts. Don’t forget to prime bottom of the top piece. After everything is dry, carefully paint them with black paint. Smaller top piece will have to be painted from both sides, so paint one, leave it for an hour and then paint the other side. Whachout for the bugs and other debree landing on the paint.
10. Assembly line.
You should let paint dry for at least 24 hours. I was too impatient with my first stand, as it seem to be dry to the touch after couple of hours. In result I left some smudges from fingers. You might be able to pull it off if you are extra careful, but better just wait. Anyway here’s how you assemble it:
- Thread hex nut (regular height) to the rod for about 4-5 inches.
- Insert little square piece you made for inside of the tube, toward the threaded nut.
- Thread another nut, add lock washer, then another nut and finally add big flat washer. Don’t put everything too close, we are not tightening anything yet.
- Hold12x12 base so the recessed circle is facing the floor, and insert rod from the other side.
- Insert flat washer on the rod from the other side, then add low profile hex nut at the tip of the rod. Adjust everything so rod doesn’t touch the floor and tighten two hex nuts (with lock washer between them) to the base. You should have something like this:
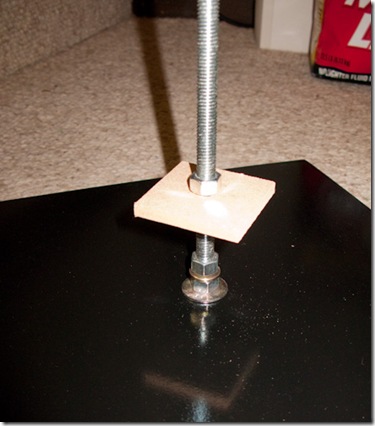
- Slide little square piece down and tighten it gently with the nut.
- Next we will add another square piece which will be in the middle of the rod. First screw on hex nut, then square piece and then another nut to hold it.
- Repeat with the piece that will be on top. Leave about 4-5 inches from the top. (I was one hex nut short for the top square, as you can see in the pic below)
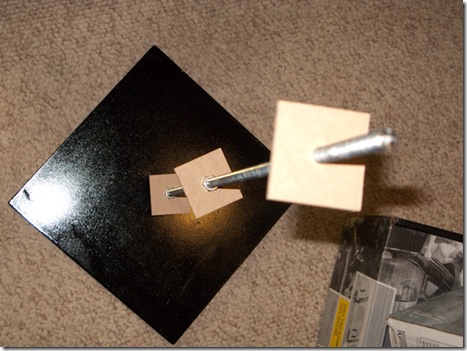
- Now slide pipe over the rod with squares
- Add top piece (recessed hole toward ceiling)
- Add 1” washer and low profile hex nut. Check that rod does not protrude from top or bottom and tighten it from the top (not too hard).
That’s it you are done! Enjoy.
Tags: diy, speaker stand

