Prusa i3 Rework 3D printer build update #2
It’s been a week since my last update, and almost 2 weeks since I got the printer. I’ve read other people building whole thing in a day, and I honestly don’t know how they do it 🙂
I must not be as handy as some, but in my excuse I recently moved into a new house (w/ 1.4 acres of property), so it’s taking almost all of my time. I think I could’ve built 3D printer a week if there were clear instructions of every step and I didn’t gave so many defects in Replikeo’s kit. Anyway enough complaining, onto the progress update 🙂
After my last assembly, I had major issues with 3 stepper motors. As I mentioned some were not responding, some were changing rotation direction almost randomly. I found mentioning of similar issue and it was due to bad wiring. So completely cut off header from my Y axis motor and crimped brand new one! Fortunately I had a crimp tool, female crimps and 4 pin header that I purchases from Pololu a while back. Wires were a little too thick for crimp pins so I had to insert wire into crimp pins outside of crimp tool, pinch down insulation a little with needle-nose pliers and then crimp it with crimping tool. Plugged it into RAMPS board, and oh miracle motor came alive! 🙂 I did same procedure with Z axes motor and again it completely cured the issue. Later I realized that my X-axis motor also had similar issue, so I gave it new header as well. Replikeo should be ashamed of the bad job they did, but I still can’t complain much their price was lower than anything I’ve seen.
Now that all motors were working I found another issue. Hotend (HE) wasn’t reporting temperature. This caused Marlin firmware to halt all movement (if I enabled thermistor in the code). I traced issue to yet another bad header, this time HE thermistor. Since I didn’t have any 2 pin headers, I was able to carefully remove existing pins, cut them off and re-crimp. Bingo, now I was getting 20C reading!
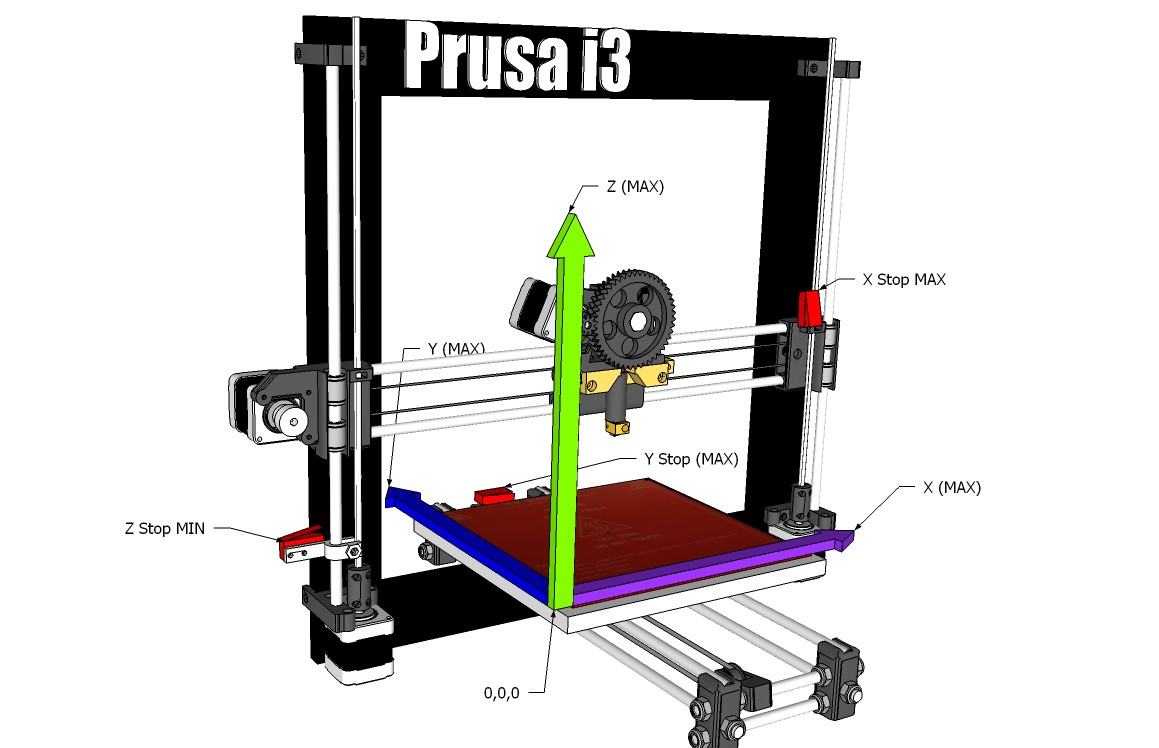
At this point I needed to figure out how to home printer and configure firmware so it moves into right directions and all endstops are working. Unfortunately last instruction on Rework build is on how to level heatbed, and I couldn’t find anything on what to do with printer beyond that point. That really sucked. I need to figure out 3 things:
- Where’s printer’s origin is (0,0,0 coordinate)
- What exactly endstops are for, which are MIN and which are MAX
- How do I “home” printer
With help of Replikeo’s forum members I figured out answer to #1 and #2. Here’s a Sketchup drawing to illustrate that.
I also abandoned Marlin firmware in favor of Repetier which is awesome!!! It has web based configuration for host firmware and really nice “all in one” GUI for printing and controlling printer. I was finally able to configure printer correct, and find out how to “home” all axes. That’s what endstops are for! When you home axes, it moves intil it finds endstop and remembers position as either Minimum (i.e. 0) or Maximum (i.e. 200).
I also was able to level my heatbed more or less with a piece of borosicilicate glass I ordered from eBay for $24. Borosicilate glass can withstand rapid heating and cooling without cracking like regular glass, but I’ve ready many people use regular glass with success too.
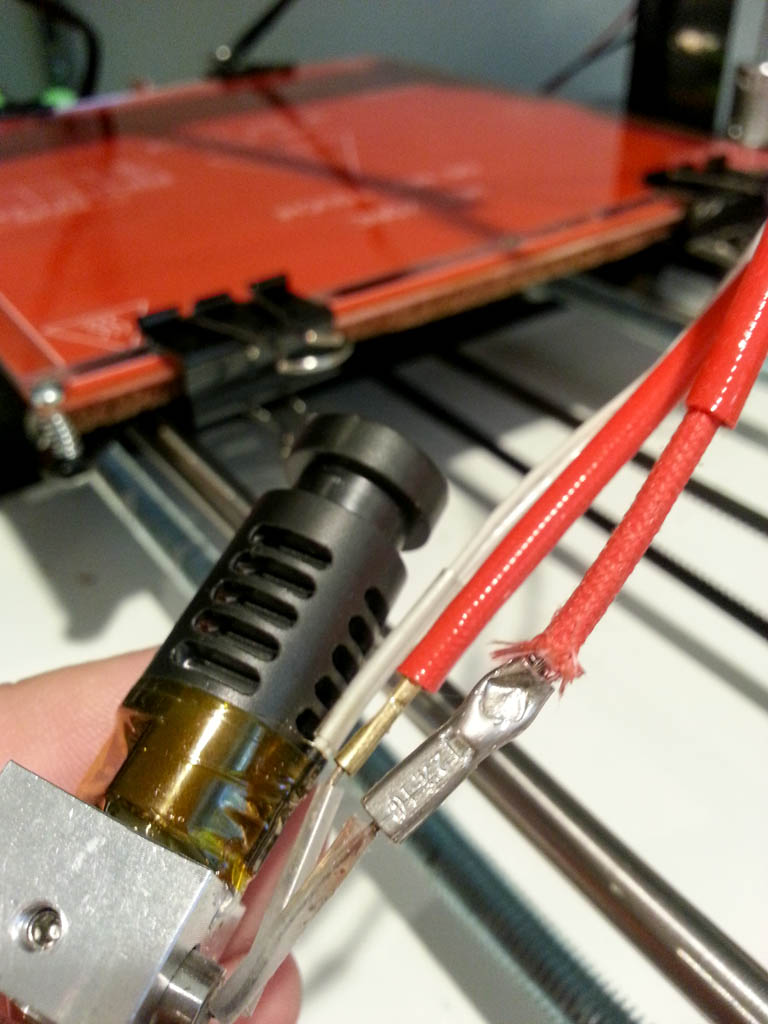
But not everything was smooth sailing at this point. My hotend would not heat up at all! I had no idea what could be wrong, but I was pretty sure it wasn’t my Ramps board. It was giving out 12 V to the HE leads. HE seemed complicated and mysterious piece of hardware to me at first, probably the only piece of the printer (besides motors) that’s not really DIY. But after reading on how it’s made, it’s not that complex at all. Heating is done by power resistor (5-6 Ohm, 5 Watt) inserted into metal block that holds nozzle. Next to it (in separate hole) is thermistor. Both are held with kapton tape that’s wrapped around hotend.
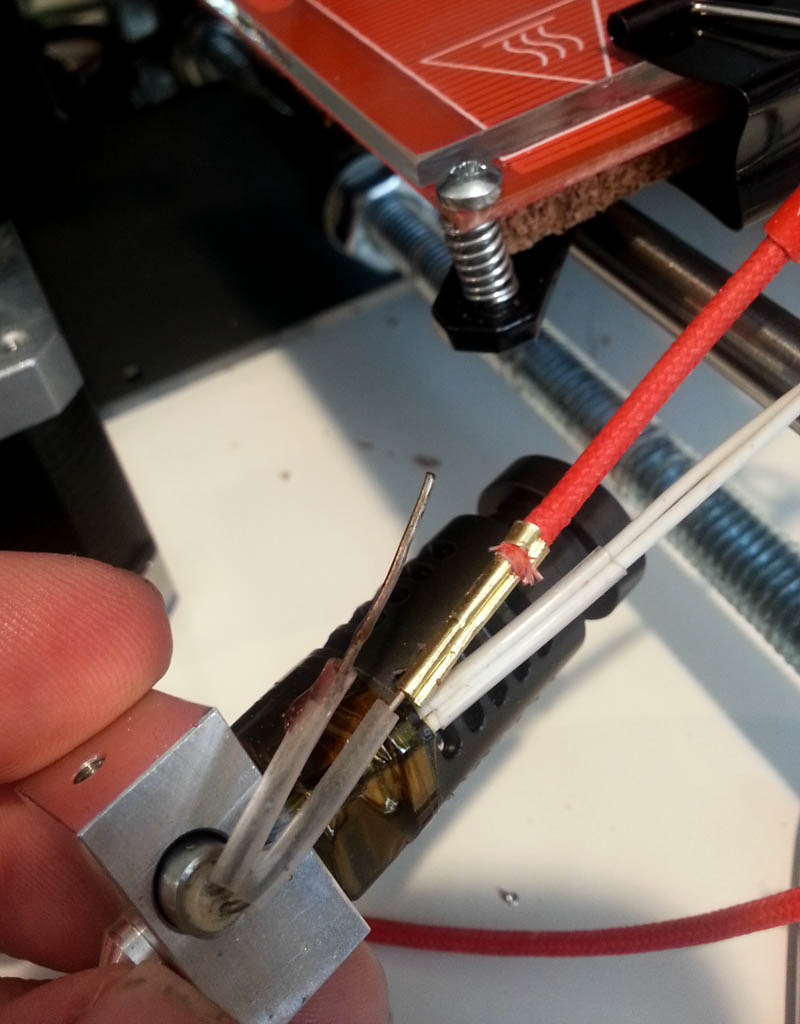
I suspected that something got disconnected as there was infinite resistance between heater wires. So I removed kapton tape and discovered that one of the wires going to heater was loose. I’m not exactly sure what kind of resistor Replikeo used, but it was a strange one, with both leads on one side. Leads were very thick and would not accept solder! Wires connecting to them were held with some kind of “butt” connectors.
After a quick stop at Radioshack where I found a bag of butt connectors
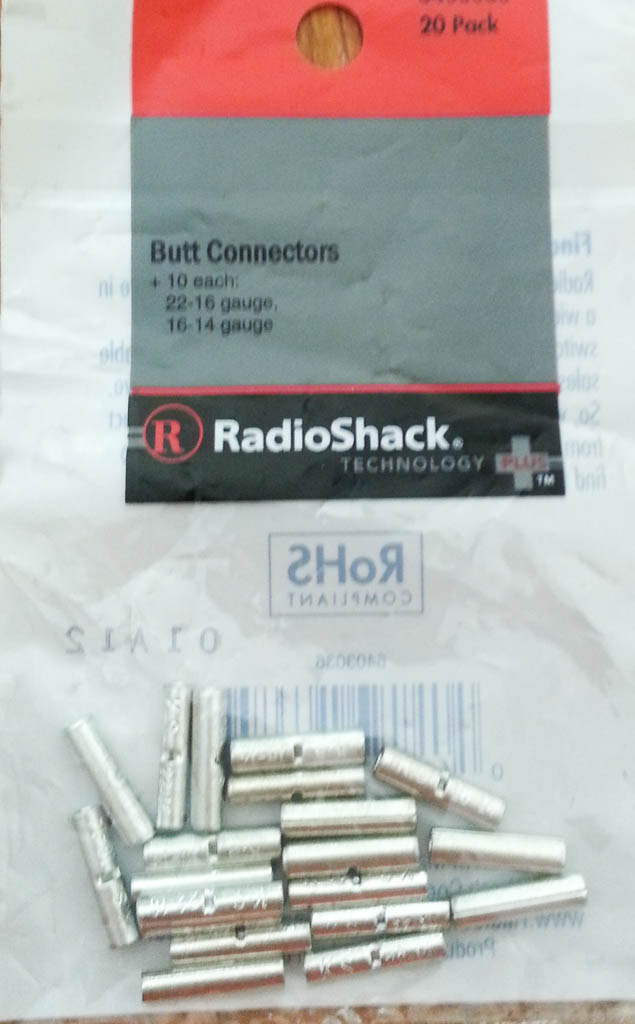
I was able to repair the damage.
At this point it started to heat up so I put on kapton tape and replaced everything as it was.
First attempts to print something were unsuccessful. And it was actually my fault. I assumed that Replikeo sent me PLA filament, but it was actually ABS. ABS is much stronger but requires higher temperatures of both hotend and heatbed. I set my hotend to 250C and HB to 110C, but it (HB) had very hard time reaching those temps. I tried printing .5mm wall cube, but it got messed up as it didn’t stick to the carbon fiber plate that was on top of the glass.
I called it a day and ordered some orange PLA from Amazon. It arrived 2 days later and I gave it another shot. This time it was a success! I removed carbon fiber plate, sprayed glass with hairspray and releveled everything.
.5mm cube came out pretty damn good. Here’s a video of it finishing up the print.
Only issue I saw was a blob of plastic that was stuck to the nozzle and was interfering with 1st layer print. I still get it almost every time, so I need to calibrate something…